
By Samantha Wyant | HDLS Manager
Welcome back to our three-part series exploring 360° photos, cameras, and technology and how you can use them to your advantage. In Volume 1, we discussed the difference between still and 360° images, learned how 360° cameras work, explored some hardware options, and listed some construction specific applications of 360° photos and video. This week, in Volume 2, we will investigate the applications for 360° photo and video more in-depth and discuss ways to view and share photos using existing software. Finally, in Volume 3, we will explore different software and apps that are currently available for purchase highlighting their uses, strengths and weaknesses, and cost-effectiveness.
Before diving in, I would like to touch back on our discussion of hardware from last week. There is a flood of 360° cameras available on the market, ranging in price from $100 or less to tens of thousands of dollars. For construction purposes, however, you can expect to spend less than $1,000 for a great camera. StructionSite, a software package available for organizing, using, and sharing your 360° photos (we will be discussing this software more in depth in Volume 3!) has run a great analysis of 4 of the most popular 360° cameras currently on the market. Check out their findings here, to add some great information to our discussion from last week!

Struction Site's “360 Camera Photo Quality Comparison on a real Construction Site”
For our future discussions, we will continue to assume the use of a Ricoh Theta Camera, since this is what we use at Hale TiP, though most of this information will be transferable to the camera of your choice.
Using Your Theta Camera
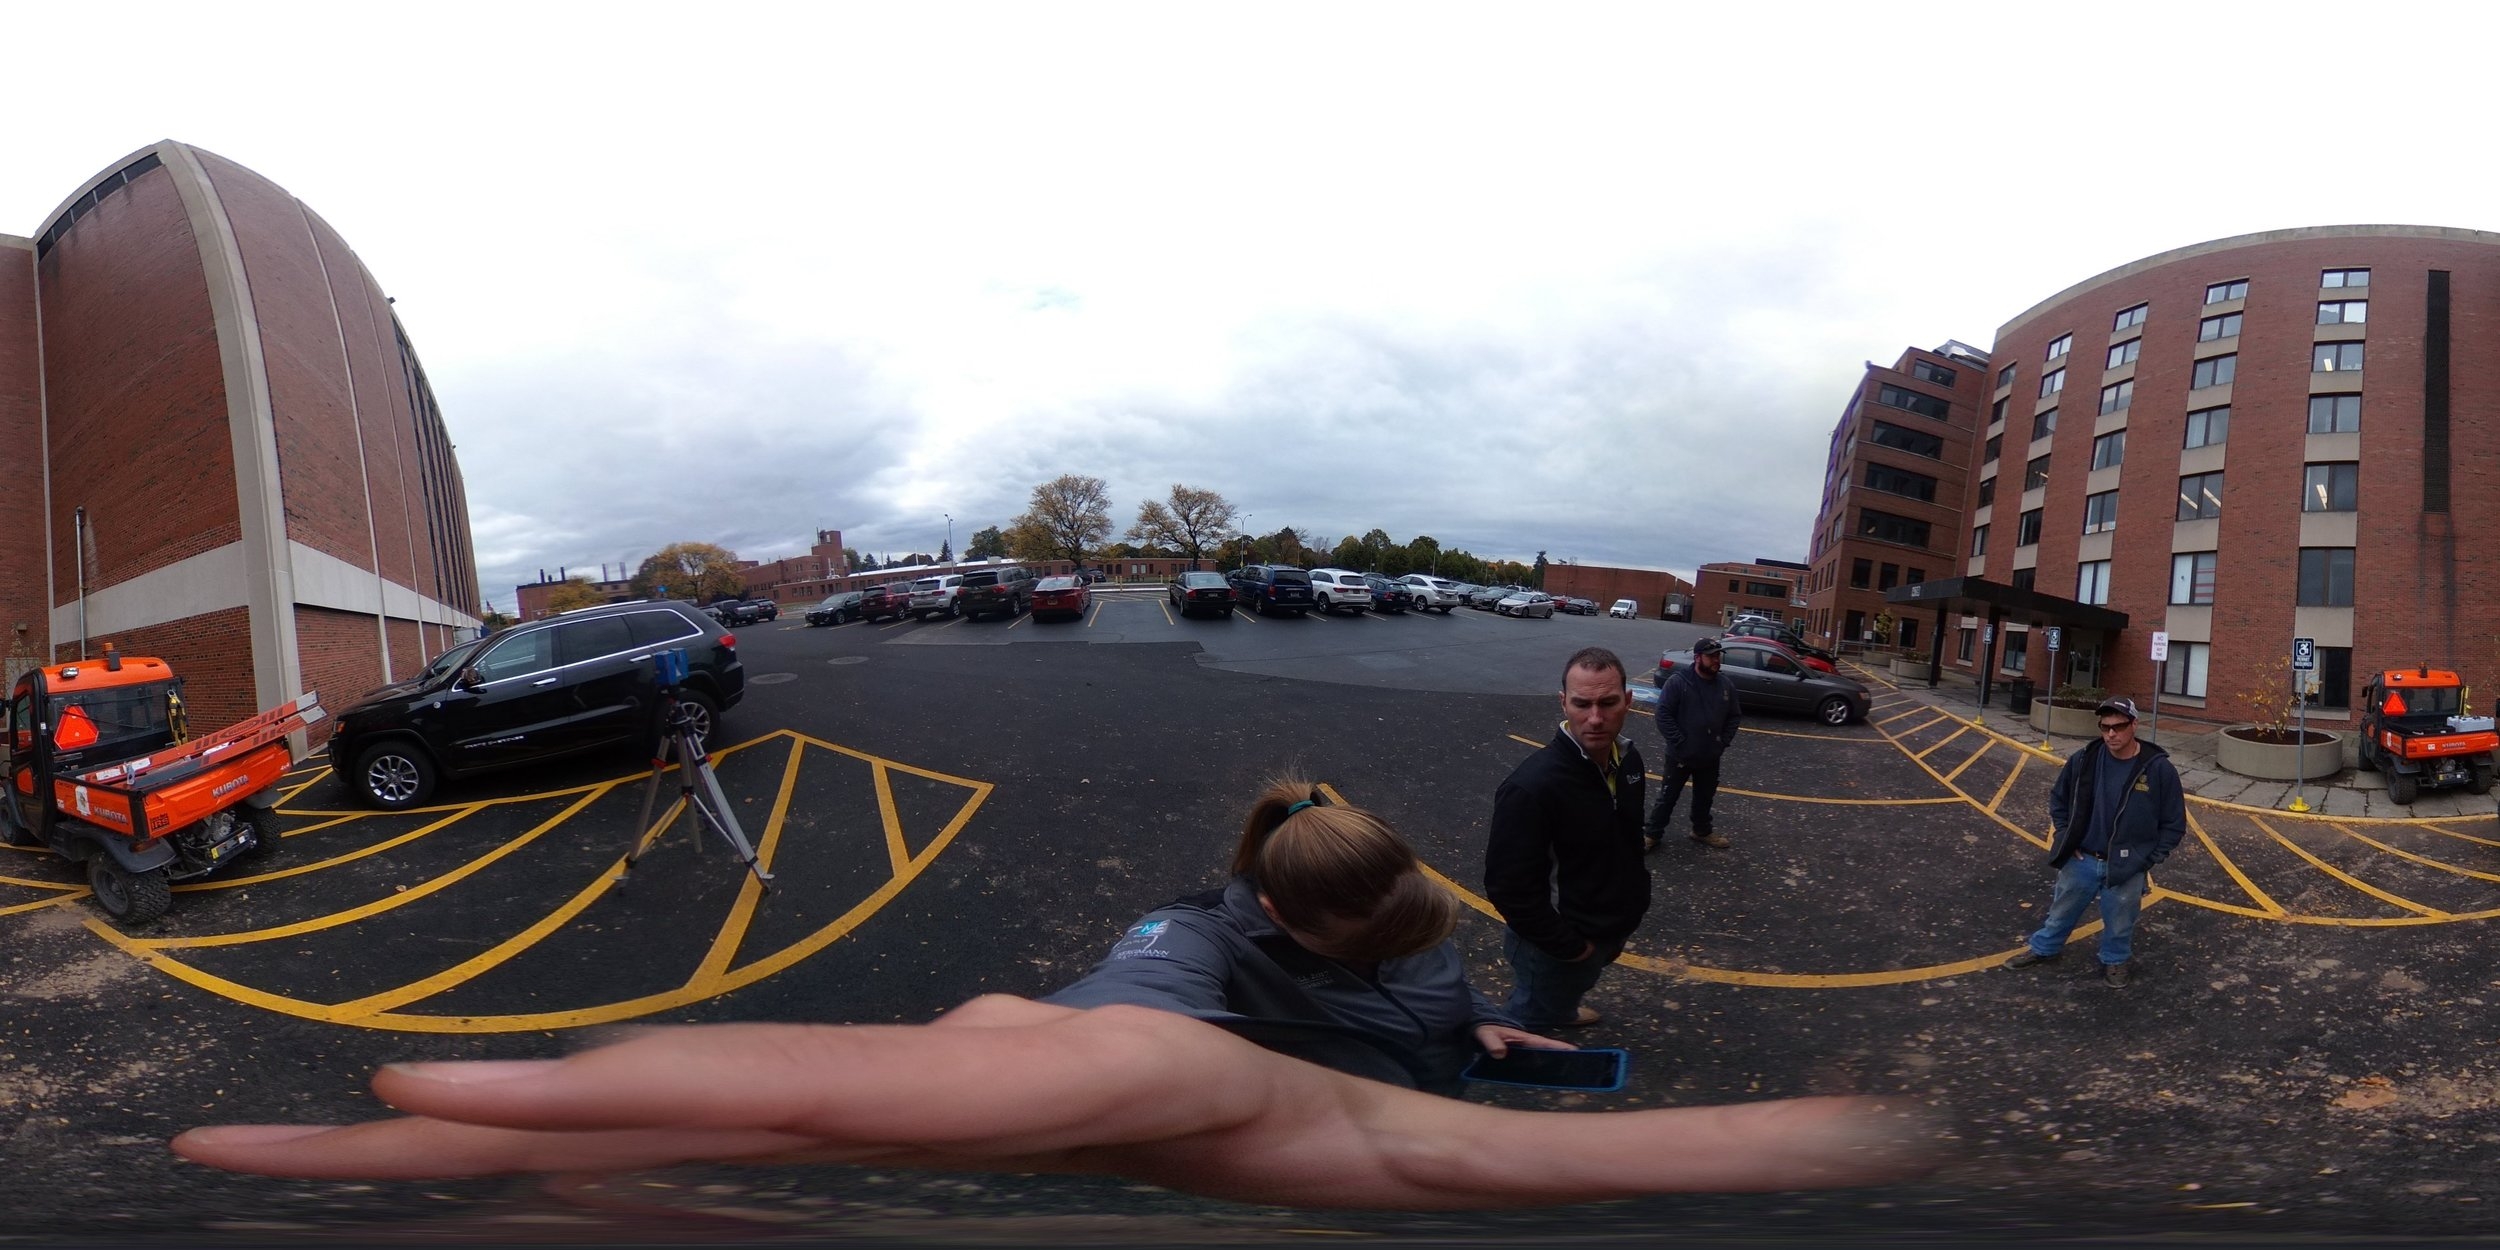
Manual Photo (Click for Viewer)
Taking photos with your Ricoh Theta is very simple. You can easily hold it in your hand and take a photo by pressing the large shutter-release button on the front of the camera. This method, however, ensures that you and your hand will always be in your photos. By purchasing a stand or selfie-stick for your camera and connecting your phone, tablet, or computer using WiFi (the Theta V now offers a Bluetooth connection) you can take pictures remotely as well. Ricoh sells an extendable monopod specifically for their Theta cameras, available on their website for $199. They are also currently running a special for a free selfie stick with the purchase of a Theta V, although it is unclear which product the selfie stick is. Similar solutions can be bought on amazon for $20-$50, including kits with multiple stand solutions.

Monopod with WiFi Connected Device
(Click for Viewer)
It is definitely recommended to download the Ricoh Theta App on your phone, tablet, or laptop computer (I would recommend using your most portable option). It is free and available for Windows, Mac, iOS, and Android. By connecting your device and the camera using WiFi, photos can be taken remotely and saved to the camera and your device. This gives you more options for using your photos and videos since they are also saved directly to your device and are immediately available for viewing in the app. Photos that are saved on the camera can also be accessed using the app while connected, absolving the need to connect the camera to your computer or device for media transfer. Unfortunately the WiFi connection has proved to be tricky and can sometimes give out unexpectedly requiring reconnection. The Theta V also offers a Bluetooth option, which may alleviate that issue.
Viewing and Sharing Your 360° Photos
Most standard photo viewers are not equipped to handle 360° photos. While the Theta App can be used to view photos and videos on your own device, this is not always an ideal solution for sharing with clients and colleagues as it would require them to download additional software. Luckily Google Photos is a free and easy way to view, store, and share your photos, 360° or otherwise. Available through your internet browser as well as on both Android and iOS, Google Photos has proven to be quite convenient - there is even the option to automatically upload/backup your photos from your device. In addition, Google Photos boasts free, unlimited photo storage, with a few caveats: photo sizes are limited to 16 megapixels each, and they need to be uploaded at “high quality” to not be counted against your google drive storage space.
Viewing and Sharing Your 360° Videos
The mp4 file that is saved to your camera is not immediately viewable as a 360° image in traditional viewing software. Again, you can always view your 360° content with your Ricoh Theta App, and after converting your mp4 files (more information on that below) they are viewable in your native Windows Photo Viewer, but there is an easier way to host and share - YouTube! With free, unlimited storage and easy settings for privacy and sharing YouTube is a great choice for hosting, viewing, and sharing 360° videos. Most people already have YouTube apps on their phones and devices, and it’s easy to use in an internet browser. There is an option to upload your video directly to YouTube from your Ricoh Theta App on your device, or you can upload it manually. Before uploading your video manually, the video must be converted from stereoscopic (two fish-eye views) to equirectangular (stitched together). The easiest way to do this is using your Ricoh Theta Movie Converter App. Simply drag and drop your video file into the App to convert, then upload to YouTube for full 360° capability. If this doesn’t work, or you have a different camera, you might have to ‘inject metadata’ into your video file for it to be viewed in true 360° on YouTube. Fortunately, this is easily done - try using this Spatial Media Metadata Injector for Mac or 64 Bit Windows. Both converting and uploading your video can take a bit of time, so be patient! Check out an example of a 4k 360° video here, taken with Hale TiP’s Ricoh Theta V Camera.

Stereoscopic Video in Windows Viewer
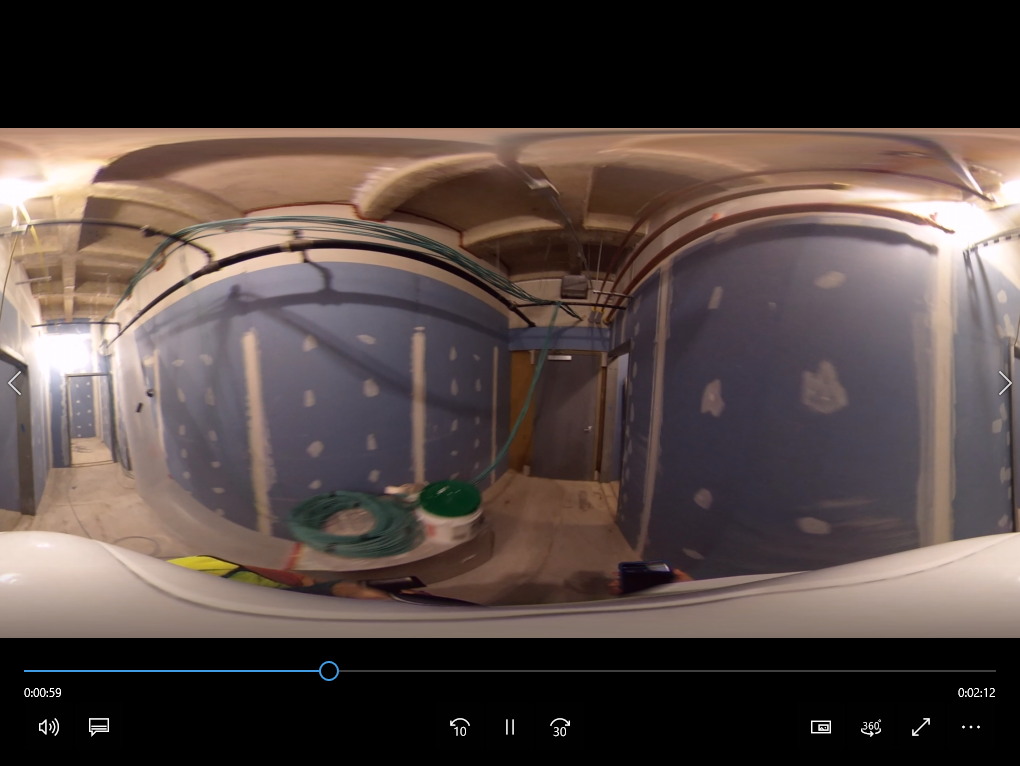
Equirectangular Video in Windows Viewer
Creating Professional Deliverables Using Bluebeam
360° photos and videos can be used to enhance your project workflow and create professional looking deliverables for everyone on the construction team. 360° photos are a quick way to document the worksite throughout the project. Locations and photos can be shared easily via PDF using Bluebeam Revu. Simply hyperlink your photos to symbols placed at the photo and video locations. For construction progress, locations can be linked to albums with multiple photos taken at a specific location on different dates. With their in-application view windows, all of your 360° content can easily be viewed in Bluebeam, as long as you have an internet connection. Great News!! The hyperlinks are also usable in the Google Drive’s native PDF Viewer, meaning you can use Google Drive to easily share your project even if your client doesn’t have a PDF Viewer which enables links! Traditional photos and videos can easily be linked using this method as well, allowing for a combination of reporting options using the same platforms (still photos and traditional video can be hosted/viewed/shared using Google Photos and YouTube as well). See pictures below for examples and you can find the downloadable/interactive file on Google Drive, here!

If you're using construction management and documentation tools such as Plangrid or Prologue, you're in luck. They both now support viewing of 360 photography through their platforms. Others are sure to follow soon if they haven't already.
Come back next week for an evaluation of software options that can be integrated with your new 360° camera and are currently available on the market.
Past Post:
Introduction to 360° cameras for use in construction
Future Post: